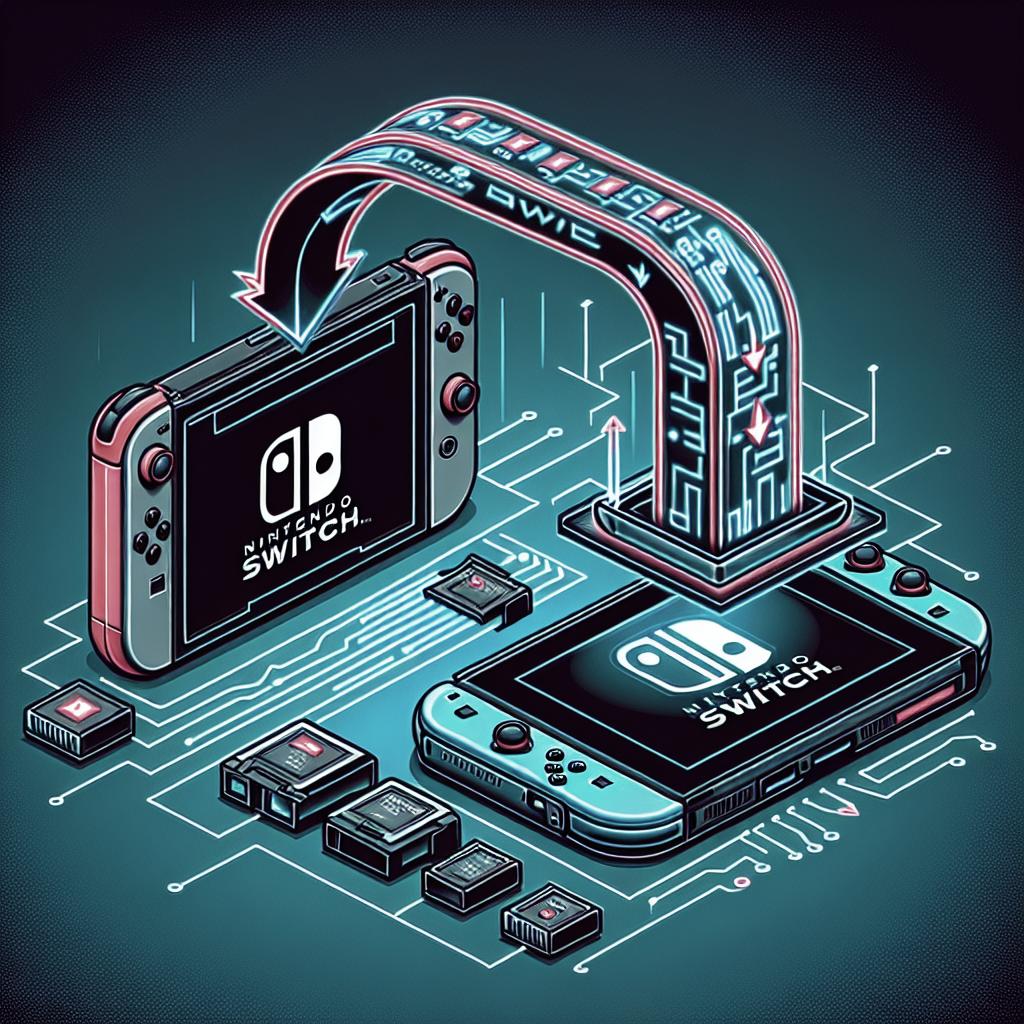
Transferring Game Saves from Old Nintendo Switch to Switch 2
With the arrival of the Switch 2, Nintendo enthusiasts are buzzing with excitement about upgraded features and potential gaming experiences. However, one crucial task for gamers moving to the new console is transferring their precious game saves and user data. In this comprehensive guide, we’ll take you through the entire process of transferring game saves from your old Nintendo Switch to your new Switch 2. We’ll cover preparation steps, the types of data that can and cannot be transferred, important pre-transfer checks, and detailed instructions for both save data and user profile transfers. By the end of this guide, you’ll be equipped with the knowledge to seamlessly transition your gaming world to the new console, ensuring you don’t lose any progress along the way.
Transferring your save data
Preparing to transfer data
Before you begin the transfer process, it’s essential to ensure that you have everything set up correctly. Start by charging both your old Nintendo Switch and the Switch 2 sufficiently to avoid interruptions during the transfer. Additionally, make sure your Switch 2 has been set up with the latest software updates as this can help in ensuring compatibility and a smoother transfer process.
Next, ensure that both consoles are connected to a stable Wi-Fi network. A reliable internet connection is crucial as certain aspects of the data transfer might require online verification or seamless data flow between devices. Backing up your saves to the cloud via Nintendo Switch Online is another advisable step in the preparation process as it acts as a safety net should any issues arise during the physical transfer.
Transferable and non-transferable data
Understanding what data can and cannot be transferred will help set realistic expectations. Transferable data typically includes game save data, user profiles, and certain downloadable content (DLC) settings. It’s important to note that not all game data will transfer directly, especially if certain services or subscriptions linked with games need separate setups.
Non-transferable data could include screenshots and videos captured on the device, some types of game licenses, and any games that were installed exclusively on a GameCard. Assessing and noting the data types lets you prioritize your most critical save data during the transfer process. Always consult game-specific documentation or forums for any anomalies in transferable data types.
Caution: Checks before transferring
Before you proceed with the transfer, double-check the space available on your new Switch 2. Ensure there is enough memory for all your data; otherwise, you’ll need to prioritize certain data or extend your storage options via a microSD card.
Another cautionary step includes signing into your Nintendo account on the new device. Ensure you’re using the same account as on your old Switch, as discrepancies can cause synchronization issues or data loss. Also, disable any content restrictions or parental controls temporarily to provide a smooth transition, re-enabling them post-transfer as needed.
How to carry out the save data transfer
To begin the data transfer, navigate to the System Settings menu on both consoles. Select “Data Management” on your old device and opt for “Save Data Cloud Backup.” Choose the data you wish to transfer and initiate the backup. This will save your game progress to the cloud.
On the Switch 2, access the System Settings and similarly navigate to “Data Management.” From there, find “Save Data Cloud” and download your backups. After confirming the data integrity and completeness post-download, your game progress should be accessible on the new system.
Transferring your user
Transferring your user profile helps maintain your personalized settings on Switch 2 and more access to eShop purchases. Begin by ensuring your updated profile sync is in place on the old console. Access “System Settings,” go to “Users,” and select “Add User.” Make sure your cloud save backups are updated by manually syncing if necessary.
With both devices ready, the next steps involve utilizing the “Source Console” and “Target Console” options under “User Transfer.” These options help guide the transfer process, ensuring relevant data including your user profile and play history are safe.
How to carry out the user transfer
Initiate the user transfer by going into the System Settings on your old Switch and selecting “Users” followed by “Transfer Your User Data.” This step requires you to establish which console is serving as the source and which as a target, fostering a secure data communication link between both devices.
Follow the on-screen instructions, which typically involve syncing the consoles via a local network or facilitating a direct link. This ensures all profile-related elements such as eShop information and friend lists are successfully relocated, preparing you to enjoy the new upgraded console without loss of any personalization.
Lessons learned
| Step | Description |
|---|---|
| Preparing to Transfer | Ensure devices are charged, updated, and connected to Wi-Fi; back up data to the cloud. |
| Transferable Data | Game save data and user profiles; some data types not transferable such as certain DLC and licenses. |
| Checks Before Transferring | Check available space and ensure correct Nintendo account login; disable restrictions temporarily. |
| Save Data Transfer | Navigate your old console to System Settings > Data Management for save data cloud backup and transfer. |
| User Transfer | Access System Settings > Users to transfer profile data, helping maintain eShop purchases and settings. |